So, you are thinking about getting a pop-up camper or maybe bit the bullet and bought one cheap off Craig’s List or Facebook Market Place. You have done some research and want to redo your camper, but you are on a budget. Yes, the word all people dread, budget.
You started a list of items you want to improve with your pop-up camper and planned it all out, but with the X amount of dollars you have can it be done? Why yes it can! Sure, you can go over budget and a lot of these items are DIYers, but you can do it!
Here are my top 5 Budget Pop Up Camper Makeover Ideas you can do on a budget and in time for camping season! They
Paint
Well of course I would say paint, you could paint the whole thing inside and out! but with one caution, you need to know what type of paint you need!

- Exterior Painting
Depending on your pop-up camper exterior camper your will probably need to use an elastomeric coating, used for RV roofs or boats ideal for use on fiberglass, wood, or metal surfaces. It expands and contracts up to 250 percent with the roof’s movement to resist damage. The coating provides an excellent, highly protective barrier which reflects the sun’s heat and destructive UV rays. I painted the entire camper with it. Expect to pay anywhere around $20 to $40 per gallon. For my camper, I needed less than a gallon for the entire camper.
I used Black Jack Elasto-Kool 700 Gloss White Acrylic Roof Coating 1 gal for $29.99 at ACE Hardware Store

2. Interior Painting- Cabinet Hardware
Spray painting the cabinet handles and Hardware is easy and can be done in one to two coats. Expect to pay $1 to $7 a can depending on your paint.
I used Rust-Oleum Painter’s Touch 2X Ultra Cover Flat Black Spray Paint 12 oz for $5.59 at ACE Hardware Store

3. Interior Painting- Cabinets and Walls
This I haven’t done on my lasted pop-up camper, but in the past, I used a paint that had a primer and oil base paint. I sanded the cabinets lightly and wiped them clean with a damp towel. Then did a double coat of paint of Primer then a double coat of oil-based paint. This ensures a scratch and chip-free paint job. Expect to pay $5 to $40 depending on brand and type of paint.
I used in previous campers, BEHR® Kitchen, Bath & Trim Primer & Sealer No. 75 and BEHR® Ultra-Pure White Base Satin Interior Cabinet and Trim Paint

4. Countertops
We had ugly baby blue countertops and I couldn’t stay looking at them. I wanted a durable, buy changeable look so I used contact paper. I bought mine from Walmart and it resembles granite, they also have marble and other stone looking contact paper there as well. I spend about $6 for the entire pop-up including the tables.
I used EasyLiner 20 in. x 15 ft. Rose Granite Adhesive Laminate Shelf Liner for $5.97 a roll.

5. Curtains, Bedding, Décor, and Organization
This can dramatically change the look of your camper and you don’t have spend a lot of money either. I like to reuse the household items that we don’t use anymore but still, look good. But if you can’t barrow from your house, try these quick tips for your pop-up camper.
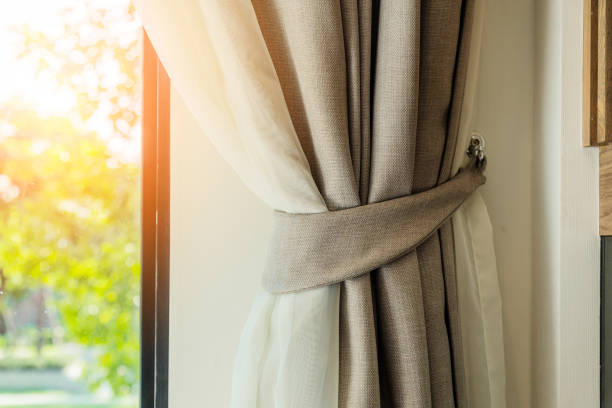
Curtains!!! They can easily bring color and warmth into your camper. Depending on your budget and the type of curtains you want you can pay anywhere from $3 to $15 per panel. I have found ours a Biglots and Walmart for $3 to $5 for two panels. Plus, we love Blackout curtains!
My number one spot is Burlington!!! They have cheaper comforters, pillows, and décor for way less and look like a designer created your camper. Price can vary but I have spent less than $45 on my camper for décor, organization objects, and bedding there. Check them out!
Try these 5 quick and easy DIY and budget-friendly makeover ideas for your Popup camper. I sure did and they turned my 90’s décor into an up-to-date luxury oasis on wheels. Of course, I didn’t mention the cushions. Cushions can be covered for cheap or sewing with little effort. Check out my posts on How to make cushion covers.


